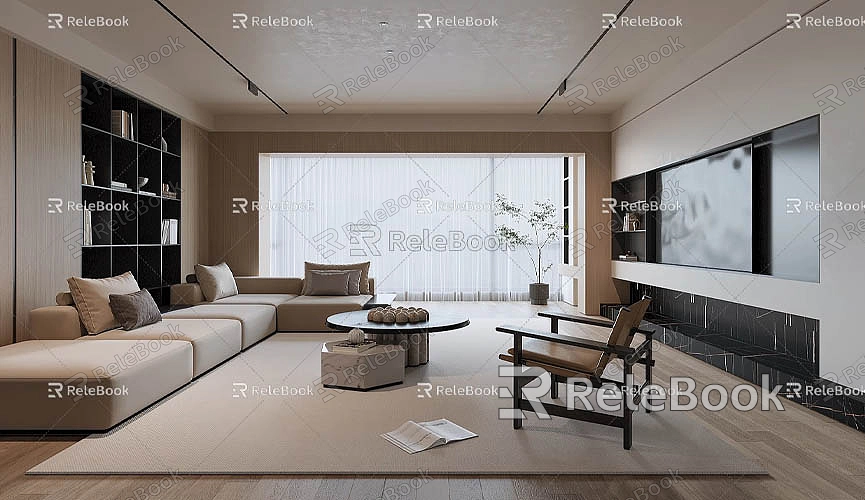
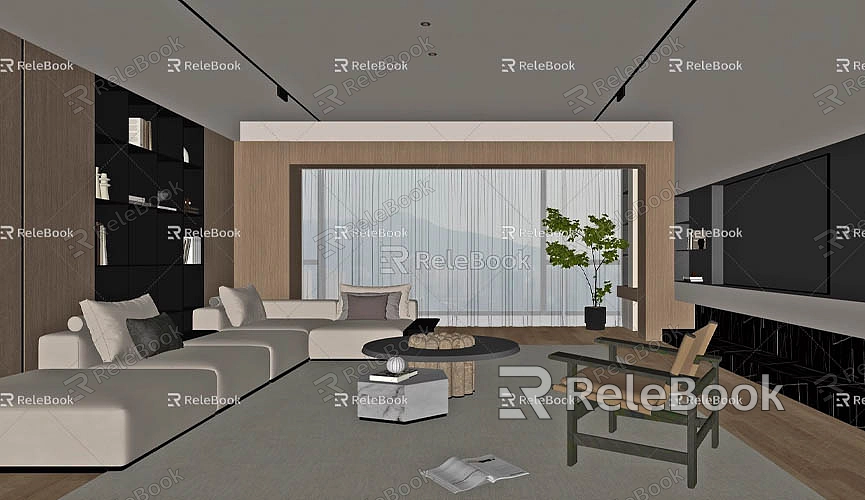
How to Render 3D Models in SketchUp
SketchUp is a widely popular 3D modeling software that has become the go-to tool for architects, interior designers, landscape architects, and other professionals, thanks to its user-friendly interface and powerful features. Whether you're a beginner or an experienced user, rendering 3D models is an essential skill that will help bring your designs to life with more realistic effects. Rendering in SketchUp allows you to showcase your design concepts more effectively and provide clients with a more intuitive visual experience.
This article will walk you through the process of rendering 3D models in SketchUp, helping you enhance the quality of your renders and ensure every detail is perfectly presented. Whether you're new to rendering or looking to improve your skills, this comprehensive guide covers everything from basic techniques to advanced tips.
The Importance of Rendering in SketchUp

Before diving into the how-to, let's first explore why rendering is so important in 3D design. Rendering is the process of converting a 3D model into a 2D image or animation, simulating real-world lighting, materials, and textures. For fields like architecture, interior design, and landscape design, the quality of the render can significantly impact how well clients understand and accept the design proposal.
Rendering isn't just about making a model look pretty; it also helps designers assess their models during the design process, identifying potential issues like lighting, material effects, and color schemes. It’s crucial for presenting design concepts, creating project proposals, or even virtual walkthroughs of a space.
In SketchUp, rendering can be achieved using both built-in features and third-party plugins. Different rendering methods and plugins cater to varying design needs and project complexities.
How to Render in SketchUp: A Beginner's Guide
For beginners, SketchUp’s built-in rendering tools are simple but sufficient for basic rendering needs. These include settings for lighting, materials, and camera angles.
1. Setting Up Basic Materials and Textures
The first step in rendering is selecting the right materials and textures for your model. SketchUp comes with a library of common materials such as wall textures, floors, glass, and metal. You can apply these materials to your 3D model using the “Materials” panel.
For advanced users, SketchUp allows you to import external texture files, giving you the ability to customize materials to better meet your design needs. If you need high-quality 3D textures and HDRI (High Dynamic Range Images) for creating realistic models and virtual scenes, you can download them for free from https://textures.relebook.com/. This site offers a large selection of high-quality 3D textures that will make your design more vivid and realistic.
2. Setting Up Lights and Shadows
Lighting and shadows are key factors in rendering. In SketchUp, you can control lighting effects through the “Shadows” option in the “Window” menu. By adjusting parameters such as light intensity, direction, and angle, you can simulate different lighting scenarios, such as sunrise and sunset or seasonal lighting changes.

If you want more realistic rendering, consider using HDRI images to simulate natural lighting. HDRI images contain more detailed lighting data than standard images, allowing for more delicate and natural lighting effects.
3. Adjusting the Camera View
Selecting the right camera angle is also crucial for rendering. SketchUp allows you to freely adjust the camera view to simulate different perspectives. You can view the model from the front, side, top, or any custom angle you need, ensuring the render meets your expectations.
Using Rendering Plugins for Enhanced Effects
While SketchUp’s built-in rendering capabilities are sufficient for basic needs, professional rendering plugins can offer more advanced features and significantly improve the quality of your renders. Several plugins are available for SketchUp, offering complex rendering techniques such as ray tracing, global illumination, and material mapping to boost render quality.
V-Ray for SketchUp
V-Ray is one of the most well-known rendering plugins, offering powerful capabilities to achieve photorealistic renderings. V-Ray supports technologies like ray tracing, global illumination, and physical rendering, which can help create highly realistic SketchUp models. With V-Ray, you can control every aspect of a material, such as light reflection, refraction, transparency, and more, allowing for precise adjustments to rendering details.
Once you install the V-Ray plugin, you can access the V-Ray toolset within SketchUp to adjust lighting, materials, reflections, and other parameters, producing high-quality renderings. One of the major advantages of V-Ray is its fast rendering capabilities, which allow you to achieve high-quality results even with complex models in a short amount of time.
Enscape for SketchUp
Enscape is another popular rendering plugin for SketchUp, with the unique feature of real-time rendering and virtual walkthroughs. Enscape allows you to render images in real-time as you adjust your model, greatly improving design efficiency. Additionally, Enscape supports Virtual Reality (VR) devices, enabling both designers and clients to experience the design in immersive VR environments.
Enscape’s interface is simple and user-friendly, making it ideal for designers who need quick renderings and presentations. Compared to V-Ray, Enscape is faster in rendering, but the quality and detail of the renderings may not be as high.
Thea Render
Thea Render is a plugin that combines physical and artistic rendering techniques, offering a wide range of rendering options for SketchUp users. It excels in light simulation and material processing, generating highly realistic renderings. Thea Render also supports multiple rendering modes, including GPU, CPU, and hybrid rendering, allowing users to choose the best rendering method based on their hardware configuration and project needs.
Rendering Tips and Optimization
Even when using powerful rendering plugins, the quality and speed of rendering can be affected by factors like model complexity, hardware performance, and settings. To achieve better rendering results while minimizing long rendering times, here are some tips and optimization strategies:
1. Simplify Models: Complex models with a lot of detail and polygons can slow down rendering times. Simplifying the geometry of your models and removing unnecessary details can improve rendering efficiency.
2. Use Proxy Objects: During rendering, use SketchUp’s “proxy objects” feature to reduce computational load. By converting complex objects into proxies, the rendering engine can maintain the appearance while reducing memory and processing power usage.
3. Optimize Lighting and Materials: Overly complex lighting and material settings can extend rendering times. Adjusting the number of light sources or tweaking material reflection parameters can help balance quality and render time.
4. Layered Rendering: When rendering large scenes, consider using a layered rendering approach. Render different sections of the scene separately and then combine them into a final image. This reduces the computational load and speeds up the rendering process.
Rendering 3D models is a crucial step in the SketchUp workflow. By effectively utilizing materials, lighting, rendering plugins, and optimization techniques, you can quickly generate high-quality renders that showcase your design concepts. These renders not only help present your ideas but also enable clients to better understand and evaluate your proposals. For designers, mastering rendering techniques will improve both efficiency and the overall quality of your designs.
Additionally, if you need a wide selection of high-quality 3D textures and HDRI, you can download them for free from https://textures.relebook.com/. For beautiful 3D models, visit https://3dmodels.relebook.com/. Relebook offers a large collection of premium 3D resources that can enhance your design and rendering results, making your 3D models more vibrant and realistic.
Through continuous practice and experience, you will be able to achieve even more impressive rendering results in SketchUp, meeting various design needs and producing stunning visuals.

